This is the second part of our article about bagels. Part 1 covered traditional, extremely-not-gluten-free New York bagels. Now we’re going to cover the basics of making bagels without wheat or barley, and no other common allergens to fill in the gaps. Many of the same principles from part 1 will still apply, but there will obviously be some key differences.
This recipe is designed to avoid the following allergens:
- Wheat (Gluten)
- Dairy
These are the most prominent allergens normally found in bagels. As always, read the ingredient list yourself to determine if this recipe has anything you’re allergic to.
As a New Yorker whose son is allergic to wheat and barley, good gluten-free bagels are kind of my white whale. With gluten-free dough being notoriously difficult to shape, and bagels being notoriously glutinous, the deck is certainly stacked against success here.
On the other hand, as we discussed in part 1, bagel dough is also less hydrated than other doughs by design. It has to retain its shape in full immersion, during the boiling process, so it can’t be too wet. That’s one point in our favor. Better than nothing!
Truthfully, I may be experimenting with this recipe for quite a while longer, but I wanted to share what I’ve learned so far. There are many different ways to make a dough, gluten-free or otherwise.
As with our gluten-free pizza, I started with our allergy-friendly bread recipe as a baseline. Then, instead of barley malt, I went with molasses. It’s the most similar thing I can think of, with both a sweet and roasty flavor profile. Now, I’m not aware of any such thing as “diastatic molasses powder”, so we can’t do anything to mimic the convenience of malt powder in regular bagel dough – we’ve gotta go with the syrupy stuff here, which will naturally impart some extra stickiness and brown-ness to this dough.
I’ve also experimented with other variations on gluten-free dough, such as using psyllium husk instead of xanthan gum. I’ve had some great results there, but since I’ve had more practice with the xanthan gum version, I’m going to go with that for now.
Ingredients
DOUGH
- 450g Water, warm – about 100° F (1¾ cups)
- 560g Gluten-Free All-Purpose Flour (see our guide to GF flours for more information)
- 24g Xanthan Gum (6 tsp)
- 9g Yeast (1 packet, 2¼ tsp)
- 50g Molasses (2 Tbsp)
- 30g Sugar (2 Tbsp)
- 28g Salt (3½ tsp )
WATER BATH:
- 3 Quarts of Water, or however much your widest pot will hold
- 1 tsp Salt
- 2 Tbsp Molasses
- 2 Tbsp Baking Soda
Similar to the regular bagel recipe, I usually try to do phase 1 the day before, followed by phases 2 & 3 in the morning.
PHASE 1: Mix the dough
- Combine all of the dough ingredients using a stand mixer.
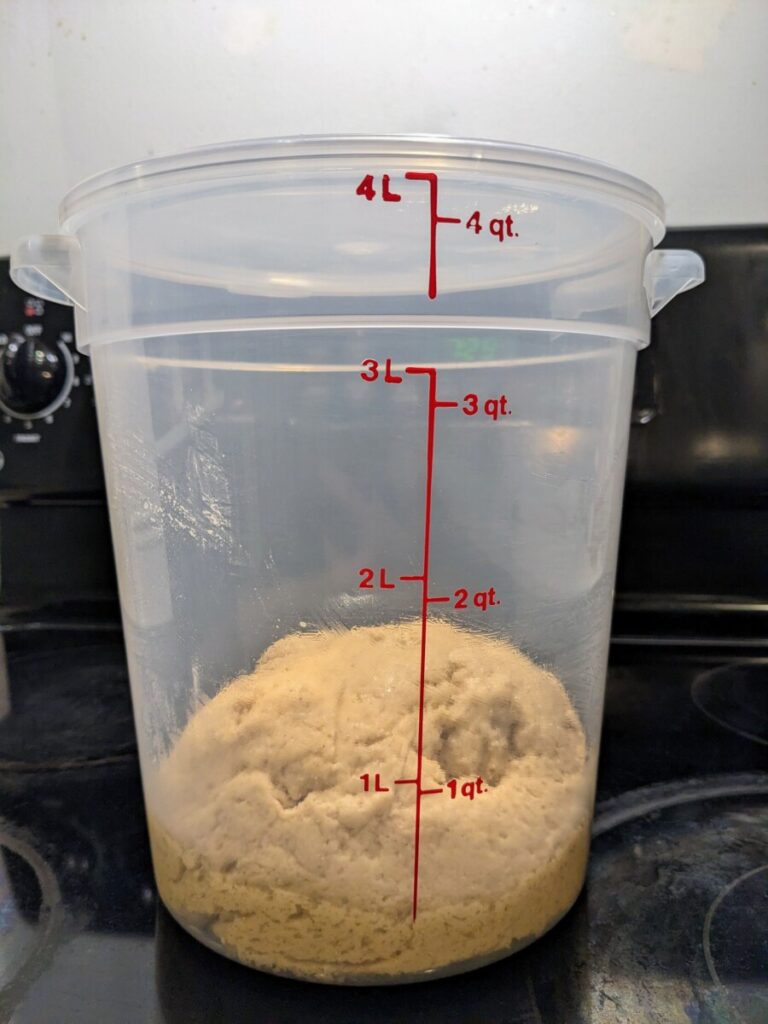
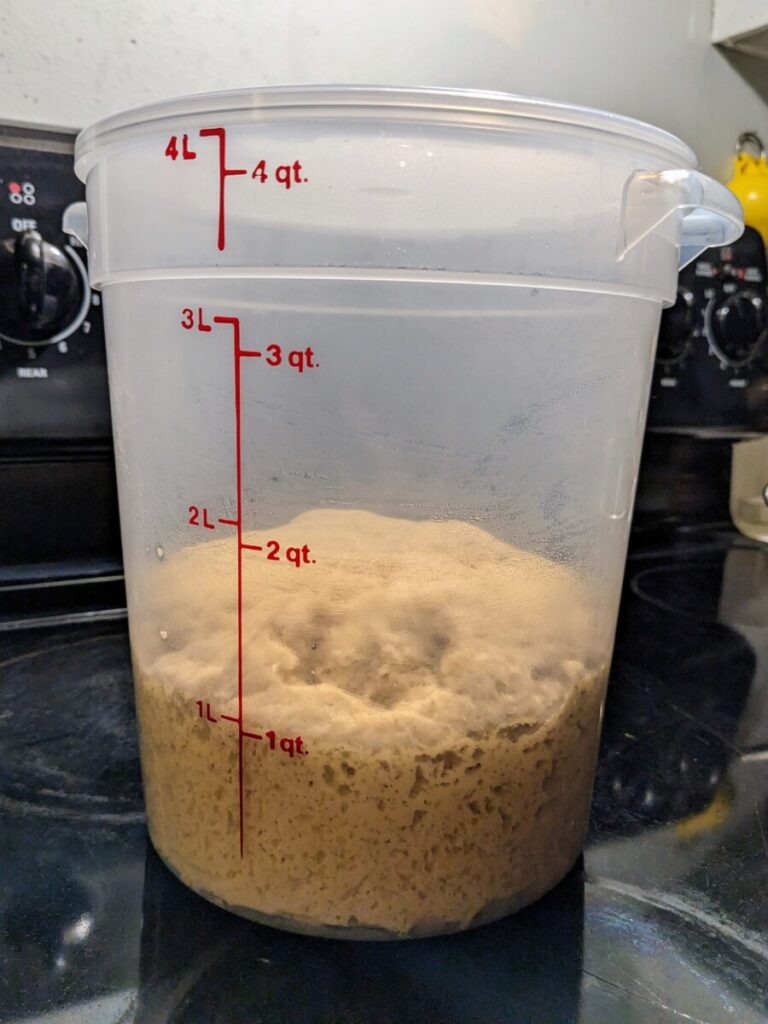
- Transfer the dough to an air-tight container with enough room for doubling.
- Refrigerate overnight.
NOTE: As always, you also have the option of doing a quicker rise (1-2 hours in a warm place) and shaping the bagels all in one day, then refrigerating them overnight. I prefer the method I’m describing here mostly due to fridge space concerns. Either one will work.
PHASE 2: Shape the Bagels
NOTE: You’ll probably want to start “Phase 3” simultaneously with this one, meaning you can start pre-heating your oven, boiling the water, and preparing the ice bath.
- Remove the dough from the fridge. You may want to give it some time to sit and come up to room temperature, but you don’t necessarily have to.
- Prepare a sheet of parchment paper by spraying it with some oil and dusting it with some coarse cornmeal (if you have it, otherwise whatever flour you’re using).
- Dust a portion of your work surface (preferably a countertop) with GF flour. You won’t want to dust the whole thing, because rolling dough is often more difficult on a floured surface, but due to the wetness of gluten-free dough you’ll need to have some on hand (literally) throughout the process. It’s quite a bit more challenging, but it can be done.
- You may also want to keep a small vessel of water nearby; that can help with certain aspects of shaping the dough as well.
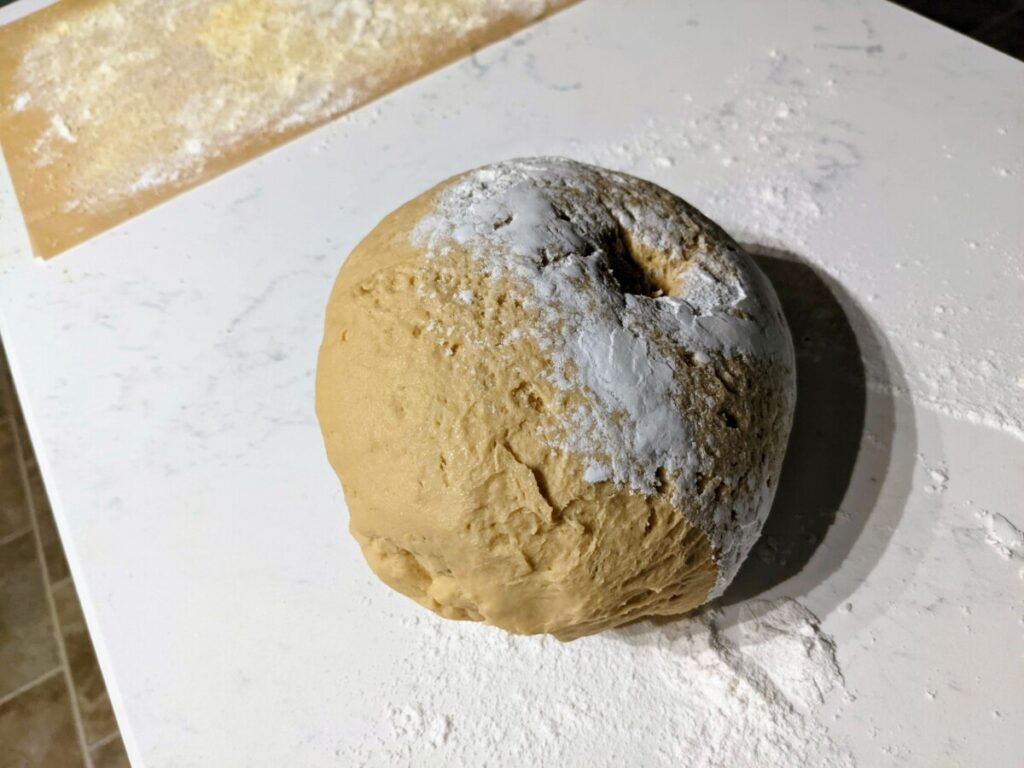
- Dust the dough with GF flour while removing it from its container. Get it into a shape that you’ll be able to cut into 6 equal pieces (i.e. a circle). Dust the individual pieces with additional GF flour. (You’re gonna be doing this a lot!)
- Take 1 piece of dough and use the palms of both hands to roll it out into a long cylinder, starting at the middle and working your way outward. You’ll want it to end up roughly as long as 3 hand widths. Be very careful, as GF dough doesn’t take to this nearly as well as regular dough. It will tear apart if you push too hard. Fortunately, you can always roll it into a ball and try again.
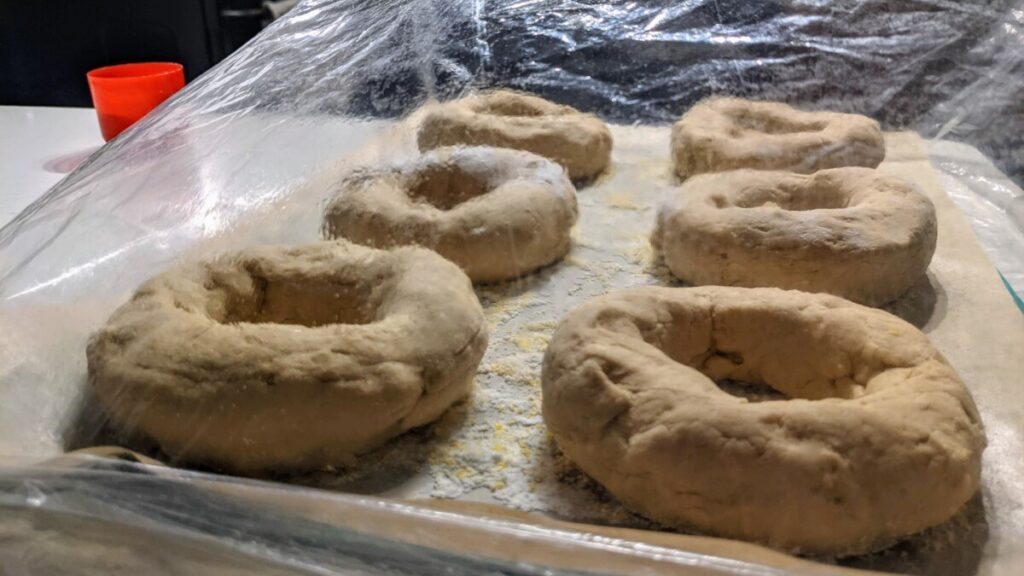
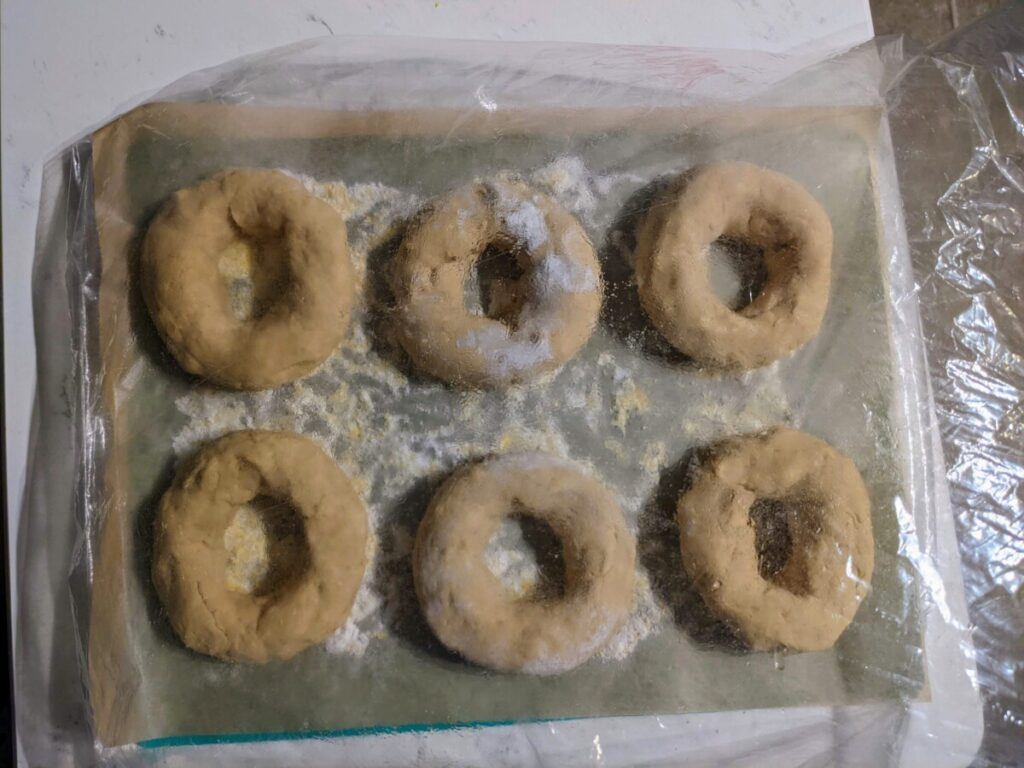
- Press the 2 ends together, using a little bit of water to seal it as seamlessly as possible.
- Place the shaped dough on the dusted parchment paper.
- Repeat with the other dough pieces.
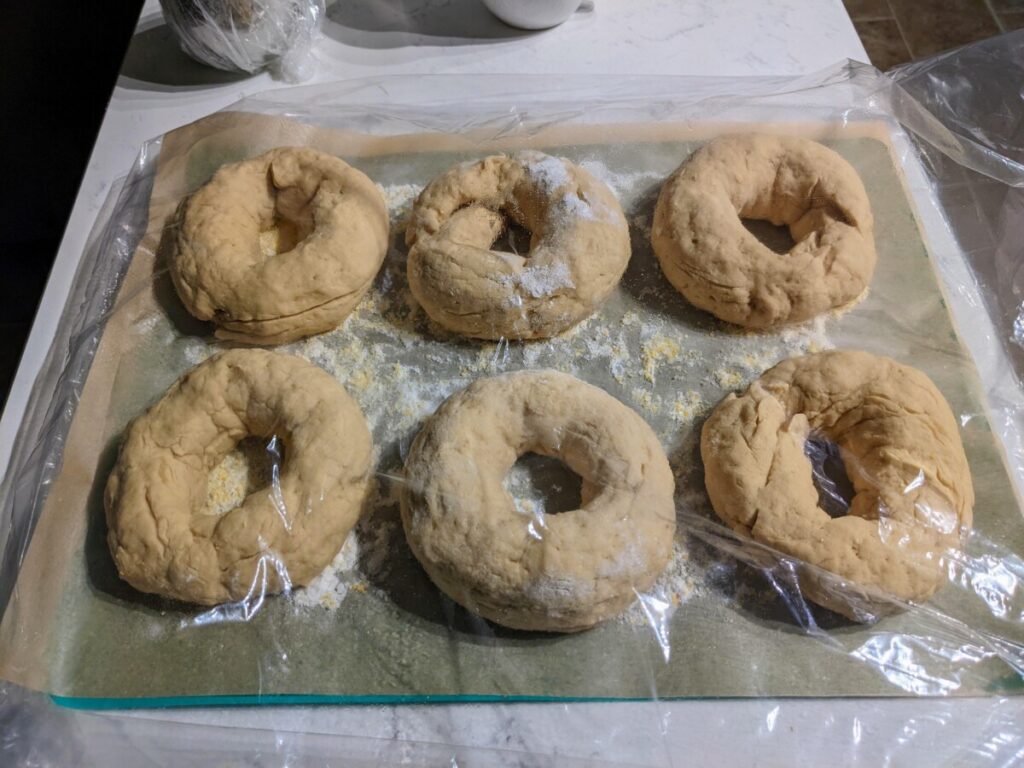
- Cover the bagels & parchment with a proving bag or some kind of lightly oiled plastic wrap. Let them rest for at least 15 minutes, but very likely 30 or longer.
PHASE 3: Boiling & Baking
You’ll recognize that I’ve kept most of these steps exactly the same as the regular bagel recipe, aside from certain ingredients of course.
- Pre-heat oven to 450° F, ideally with a baking stone or steel inside. You can use a baking sheet as well, it’s not as critical as it is with pizza, but I am a fan of the steel. (You may want a higher temperature, like 475°, for a baking sheet.)
- Boil water (and 1tsp salt) in as wide a pot as you can. Ideally you should be able to fit at least 3 bagels at a time in it. (Be smart about this, of course; if you can fit 4 but you’re making 6, you should still probably just do 3 at a time.)
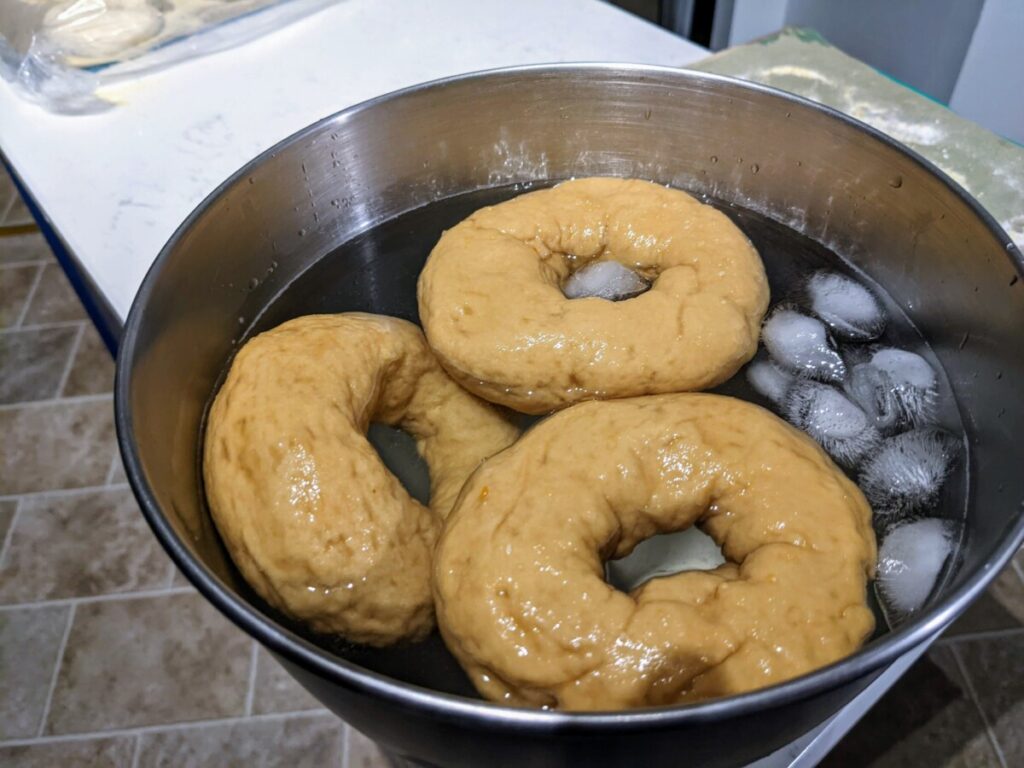
- OPTIONAL, but recommended: Prepare an “ice water bath” in some other wide container by filling it with cold water and as much ice as you can. A casserole dish works well. Be sure to leave enough headroom for the bagels so it doesn’t overflow. (If you have room for it, you could refrigerate the water in the container the night before to make it as cold as possible.)
- OPTIONAL: If you’re using toppings, you may want to prepare yet another vessel or work surface by sprinkling the toppings (i.e. Everything Bagel seasoning) on it.
- OPTIONAL: The “float test” still applies here, though it’s a bit more of a gamble. I’ve found that there are times where it doesn’t quite work, but things still turn out okay. If you want to try it, put one bagel in a bowl of water. (I usually use the container that the dough was mixed/risen in, since it’s not of much use at this point.) If it floats, you are ready to boil them. If it doesn’t, wait 10 minutes and try again. If it still doesn’t, you might just have to go for it, but say some prayers first.
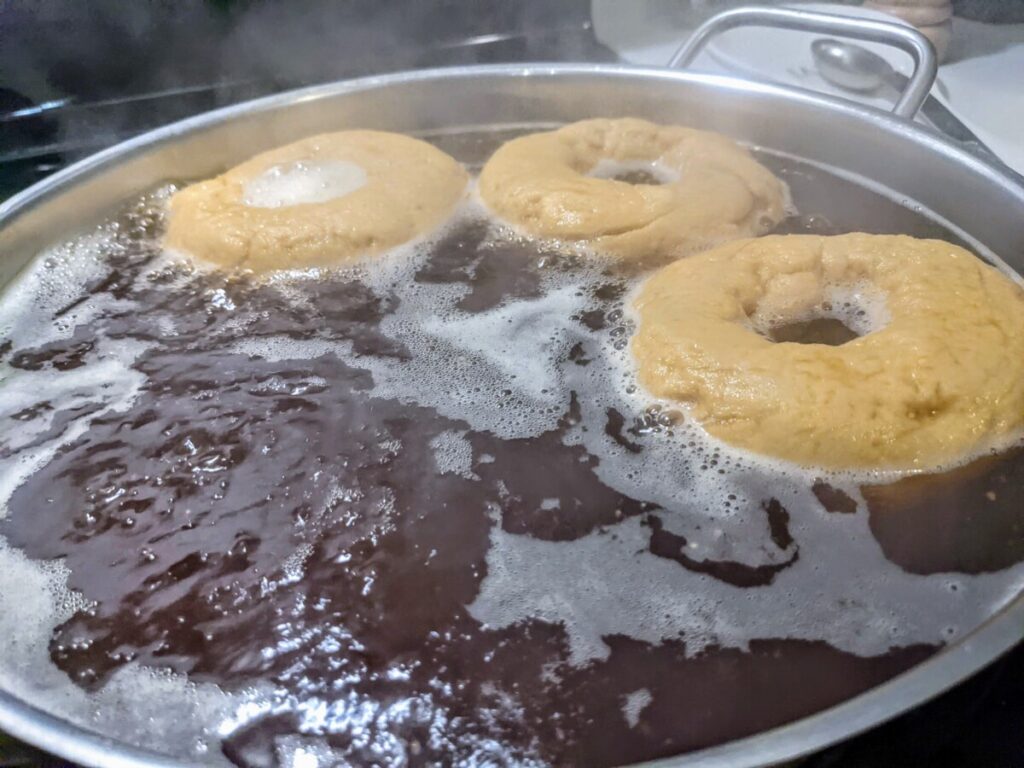
- When the water is boiling, leave it at high heat, and add 2 Tbsp molasses. Then add 2 Tbsp baking soda. Stir as needed to mix it all together and keep any foam under control.
- Place bagels in the boiling water bath. Allow to boil for 30 seconds, then flip them over (using a spatula or a “spider”) and allow them to boil for an additional 30-60 seconds (stick closer to 30, but there’s always some staggering involved, and some game-day decisions to make).
- Remove bagels from boiling water bath and place them in the ice water bath.
- Repeat for remaining bagels.
- After the ice water bath, transfer the bagels to either your toppings prep area or some other dusted staging area. Or, if using a baking sheet lined with parchment paper (and possibly some spray oil), go ahead and place the bagels on that.
- If using a baking stone/steel, line it with a piece of parchment paper.
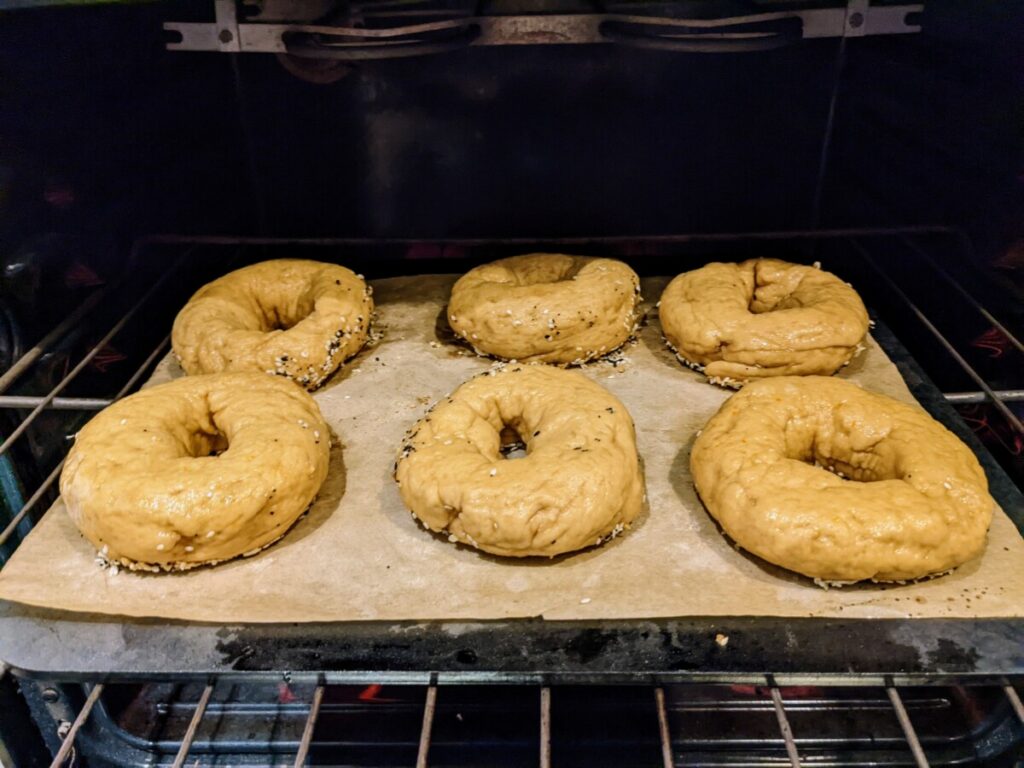
- Bake the bagels in the oven – either topping-side down or cornmeal-side down, as applicable – for about 8 minutes.
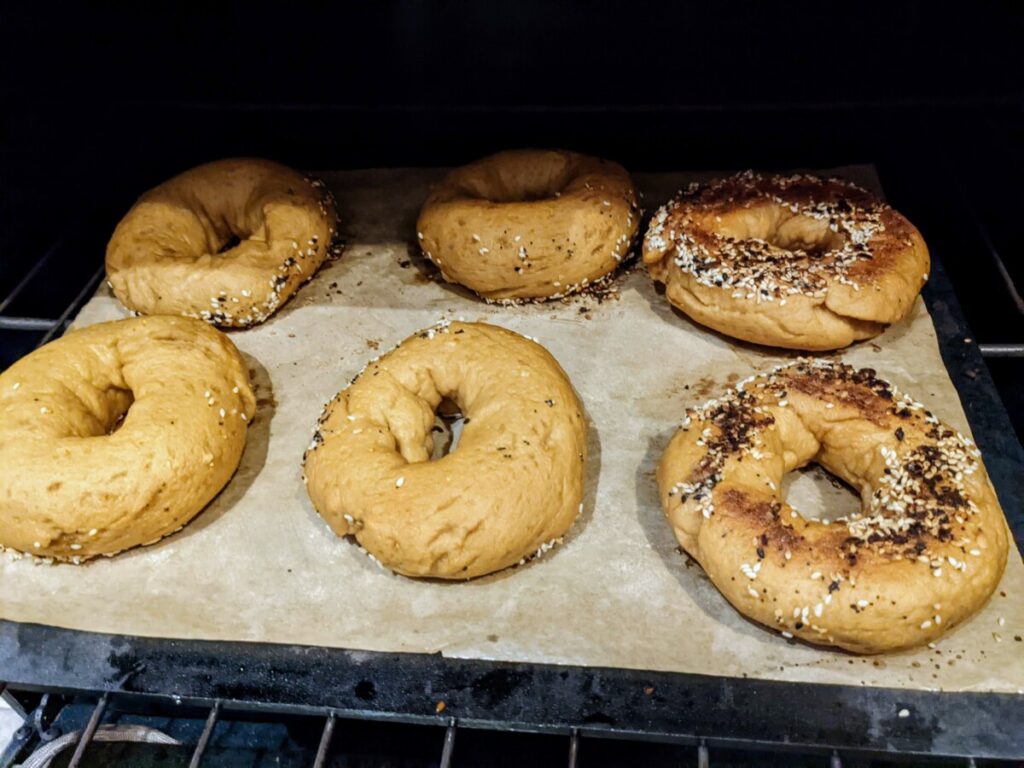
- Use a spatula to flip the bagels over and bake for about 8 more minutes.
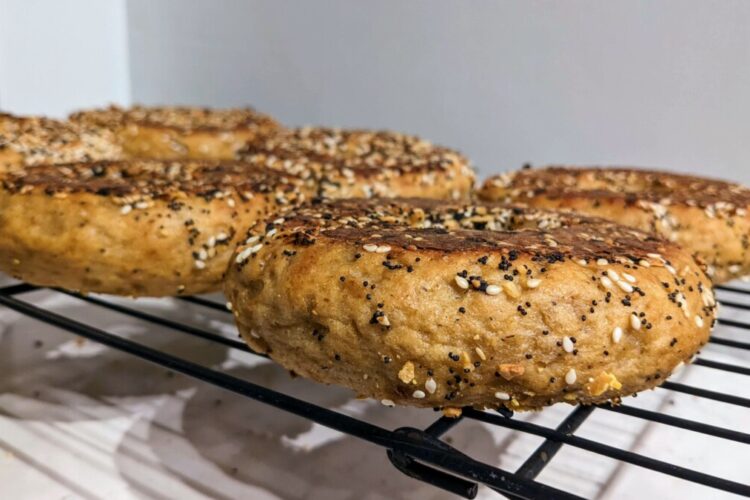
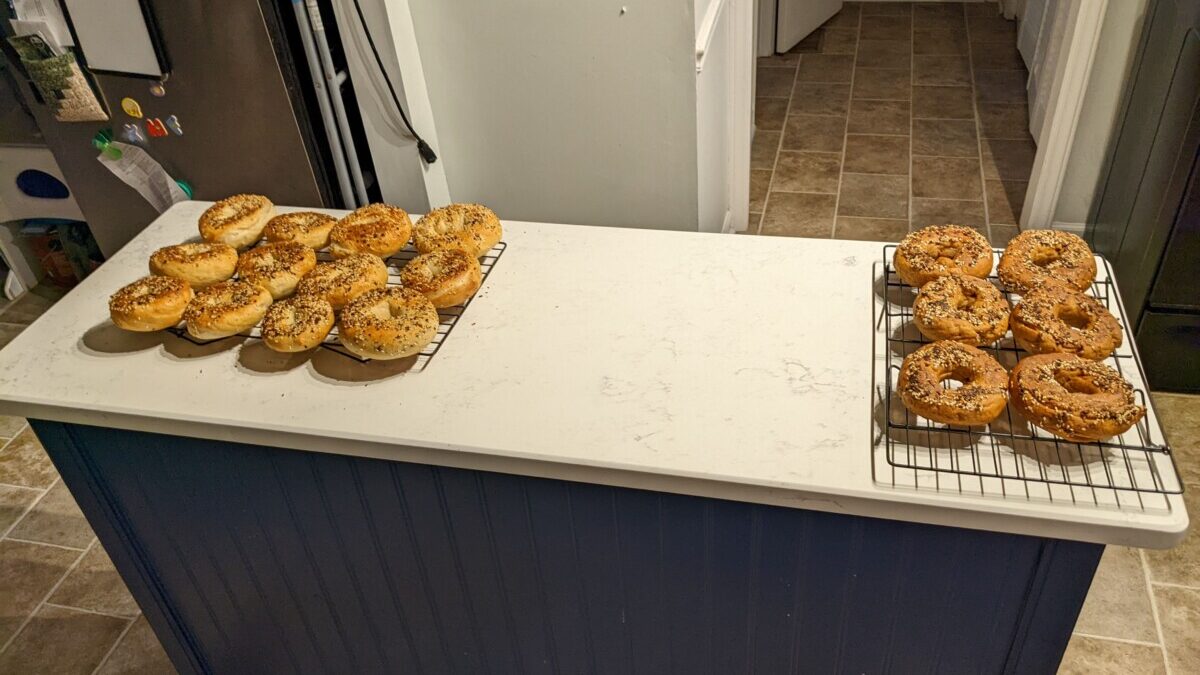
- Remove to a cooling rack if you’re confident that they’re done, or turn the oven off and let them rest (with the door open) for a bit longer.
- Allow them to cool as long as you possibly can (I know, you’re hungry). This is especially crucial for gluten-free dough, which can turn out pretty gummy if you don’t let it cool all the way.
- Enjoy with your favorite vegan cream cheese or non-dairy butter spread.
BONUS: I’ve found that these freeze pretty well. Just put them in a zipper bag in the freezer and when you want to reheat one, microwave it for about 3 minutes (flipping once) alongside a small glass of water.
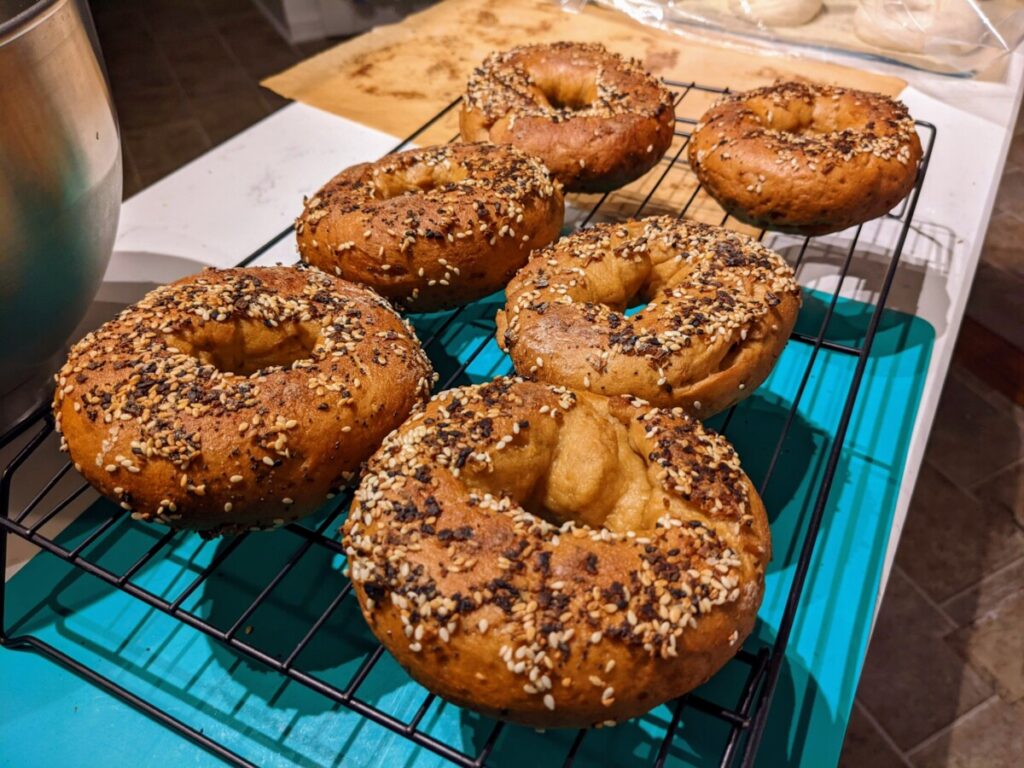
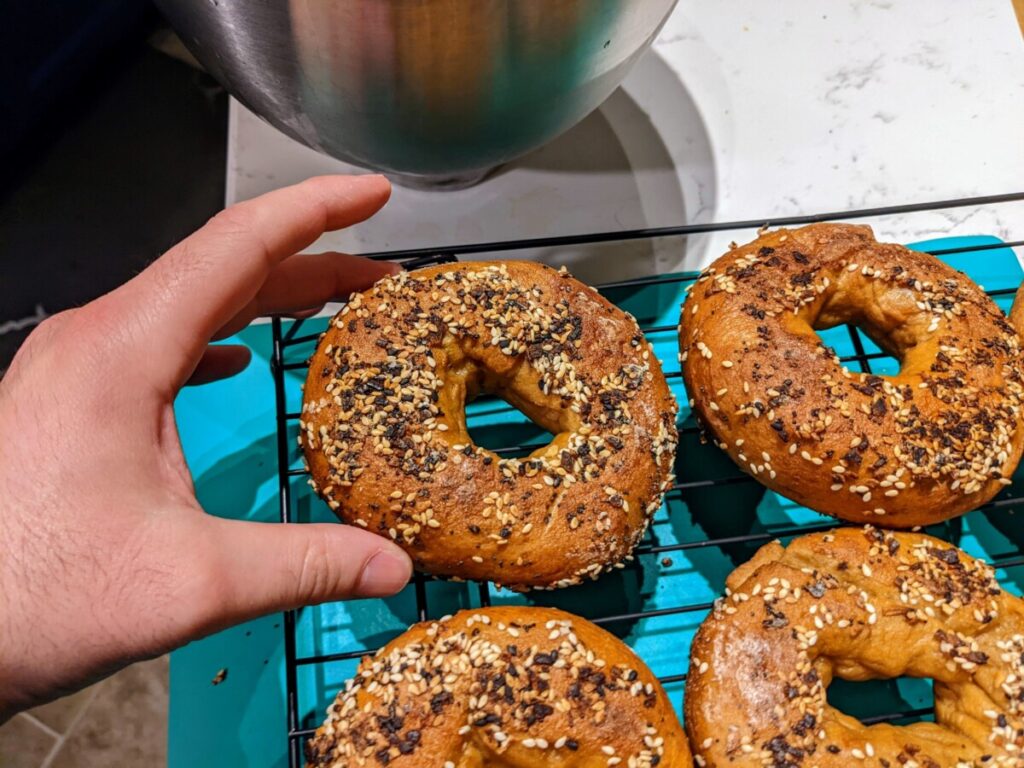
Gluten-free Bagels
Equipment
- 1 large pot
- 1 baking stone or steel optional
- 1 baking sheet
- 2-4 parchment paper sheets
- 1 poving bag optional
Ingredients
For the Dough
- 450 g Water 1¾ cups | warm, about 100° F
- 560 g Gluten-Free All-Purpose Flour
- 24 g Xanthan Gum 6 tsp
- 9 g Yeast 2¼ tsp | 1 packet
- 50 g Molasses 2 Tbsp
- 30 g Sugar 2 Tbsp
- 28 g Salt 3 ½ tsp
For the Water Bath
- 3 Quarts Water approximately
- 1 tsp Salt
- 2 Tbsp Molasses
- 2 Tbsp Baking Soda
Optional
- Cornmeal coarse ground, for dusting
- Oil Spray
- Toppings enough to sprinkle over a sheet
Instructions
Mix the Dough
- OPTIONAL: If using active dry yeast, activate yeast in warm water.
- Combine dough ingredients (450g water, 560g GF flour, 24g xanthan gum, 9g yeast, 50g molasses, 30g sugar, 28g salt) using a stand mixer.
- Transfer dough to an air-tight container.
- Refrigerate overnight.
Shape the Bagels
- Remove dough from fridge and container, dusting with additional GF flour as needed.
- Prepare parchment paper with oil spray, a dusting of cornmeal, and possibly additional GF flour. Also dust part of your work surface with GF flour.
- Shape the dough in such a way that you can cut it into 6 equal pieces. Cut the dough.
- Carefully roll out a piece of dough into a rope using the palms of your hands, until it is about 3 hand widths long. Dust hands and/or dough with flour as needed if it's getting too sticky. Seal the 2 ends together by applying gentle pressure and some water until a seamless ring is formed.
- Place the shaped dough ring on the parchment paper.
- Repeat with the other dough pieces.
- Cover the shaped bagels & parchment with a proving bag or damp towel. Allow to rest for about 30 minutes.
Boil & Bake
- Pre-heat oven to 450° F, with a baking stone/steel inside if using.
- Fill a pot with cold water and 1 tsp salt. Bring to a boil.
- In another container, prepare a bath of cold water and ice. (Optional, but recommended.)
- OPTIONAL: Sprinkle toppings on a baking sheet, parchment sheet, or some other area.
- "Float test" one bagel by placing it in water. If it floats, you are ready to boil them. If it doesn't, dust it with some GF flour and wait 5-10 more minutes. (Optional, but recommended.)
- Once water comes to a boil, leave the heat on, and add molasses (2 Tbsp). Gradually add baking soda (2 Tbsp). (Be prepared to stir down the foam with your spatula or "spider".)
- Place the first 3 bagels in the boiling water bath. Let them boil for 30 seconds.
- Flip the bagels over (using a spatula or “spider”) and allow to boil for an additional 30-60 seconds.
- Remove bagels to ice water bath.
- Repeat with remaining bagels.
- Transfer bagels from ice water to a dusted parchment paper, or wherever your toppings are.
- Line baking surface with parchment paper.
- Transfer bagels to baking surface, either topping-side down or cornmeal-side down.
- Bake for about 8 minutes.
- Flip bagels over with a spatula and bake for an additional 8 minutes.
- Turn off the oven. As long as the bagels aren’t burning, allow them to rest in the oven for a few more minutes with the door open.
- Remove to a cooling rack.
[…] This article about bagels is going to be split into 2 parts. The first part is a departure from what this site usually covers: I’m going to talk about traditional New York bagels, which contain wheat and barley (and sometimes also egg). But I knew I had to get these right before making the allergy-friendly version. See part 2 for that. […]