I’ve certainly never been accused of not overthinking…

So, when developing our recipe for allergy-friendly cornmeal waffles, it seemed logical to start with our pancake recipe and then make adjustments until it felt right. For the pancakes, I found that using gluten-free flour alone produced a result that was a little too “gummy”, so I added cornmeal to give them more texture. And since I like cornmeal pancakes anyway, there was really no downside. (This technique also works great for muffins.)
But at some point in the last year, it occurred to me that I’d never tried making waffles with just the gluten-free 1-to-1 flour, instead of blending it with cornmeal. So one day I tried it, and you know what? I think I like the results even better.
For traditional waffles, smoothness is desirable. There’s obviously some texture provided by the shape, but the fried dough itself is smooth and crispy. (I think that also helps it come out of the waffle iron more easily.) It’s still possible for them to turn out a little gummy, but as long as you cook them long enough and (optionally) give them a little final crisp in an oven afterward (or toaster oven, or air fryer), it’s usually not an issue.
Of course, you can “waffle” just about anything, so there’s certainly nothing wrong with using cornmeal. But if you’re aiming for a traditional waffle, save yourself the extra step and just go with the gluten-free 1-to-1 flour.
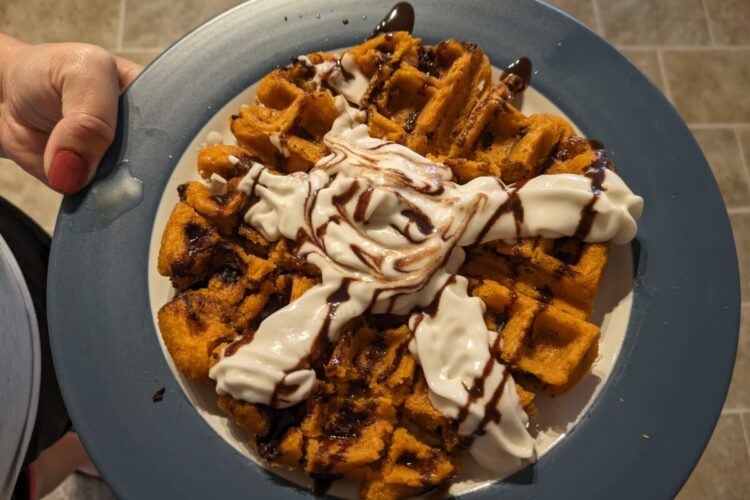
Anyway, just for fun, here’s a picture of a “tiger” waffle (dyed orange) I made for my son’s birthday recently. Enjoy!


Allergy-friendly Waffles
Ingredients
Dry Ingredients
- 3 cup Bob's Red Mill Gluten-Free 1-to-1 Baking Flour (440 g)
- 1 Tbsp Baking Powder (12g)
- ½ tsp Baking Soda (4g)
- 6 Tbsp Sugar (90 g, plain white cane sugar)
- 2 tsp Salt (14g, table salt)
Wet Ingredients
- 2½ cups Non-dairy milk
- ½ cup Oil or Vegan Butter
- 1 tsp Vanilla extract
- ½ Tbsp Apple cider vinegar
- ½ cup Aquafaba (160 g / liquid from one 14.5 oz can of garbanzo beans)
Other
- Oil spray (for greasing the waffle iron)
- Syrup (for topping)
- Vegan Butter (for topping)
Instructions
Making the Batter
- Whisk all the dry ingredients together in a large mixing bowl.
- Add all of the wet ingredients, except aquafaba. Whisk or stir to combine. It should be fairly wet at this point, a bit more runny than pancake batter. When you run the whisk through it, it should create streaks pretty easily.

- Using your favorite handheld beater or stand mixer with the whisk attachment, beat the aquafaba until it forms white peaks. This could take somewhere up to 10 minutes, but probably not any longer than that. (Don’t stress about getting it to meringue-like perfection; it just needs to be fluffy.)
- OPTIONAL: If your waffle iron requires pre-heating, start now. For the cast iron stovetop one, I put each half on a separate burner at heat level "7" (out of 10).Additionally, if desired, preheat your oven to its lowest setting (mine is 170 F) and put something in there that will be able to hold the waffles, to keep them warm and crisp after you cook them. (I use a wire rack that goes with one of my baking sheets.) This may not be necessary if you have something that can cook a lot of waffles at once, or 1 large waffle per person.
- Fold the whipped aquafaba into the batter until combined. (Try to be gentle, but don’t be afraid to get it all mixed, either — just make sure you’re not, like, getting an arm workout.) It should end up pretty bubbly and foamy.

Making the Waffles
- NOTE: The specifics of this process will vary depending on the size and type of waffle iron you use.
- Depending on how non-stick the waffle iron is, you may need to spray both sides before each waffle.
- Ladle batter onto iron and clamp down. Flip right away.(For the Presto FlipSide waffle iron, the right ladle size is about 1 cup / 8 oz.)
- Cook for about 4-5 minutes.(For stovetop waffle iron, flip once per minute.)
- Check for doneness. If not done, cook for an additional minute.
- Using a fork, gently stab the side of the waffle and pull it up out of the iron. If the surface was non-stick enough, and you used a high enough heat and gave it enough time, the waffle should come off the iron pretty easily. If it looks like the two halves of the waffle might separate, give it a little more time.
- After removing the waffle from the iron, either serve it or place it on a wire rack in the oven to maintain crispness.
Recent Comments